

Self-Host Docmost with Docker Compose and Traefik: Complete Guide
Self-Host Docmost: Your Private Documentation Platform
Cloud-based documentation tools like Notion or Confluence store your sensitive data on third-party servers, often outside the EU. The solution? Self-hosting Docmost – an open-source platform that gives you full control. In this guide, we'll set up Docmost with Docker Compose and Traefik.
What is Docmost?
Docmost is a modern, open-source documentation and wiki platform. Think of it as a self-hosted alternative to Notion or Confluence. It offers:
- Real-time collaboration: Multiple users can edit documents simultaneously
- Nested pages: Organize your documentation in a hierarchical structure
- Rich text editor: A powerful WYSIWYG editor with markdown support
- Workspaces: Separate spaces for different teams or projects
- Full-text search: Find any document instantly
Why Self-Host Docmost?
Data Sovereignty: Your documentation contains sensitive business information. Self-hosting ensures this data never leaves your infrastructure.
GDPR Compliance: By hosting in Germany or the EU, you maintain full compliance with data protection regulations.
No Vendor Lock-in: You own your data and can migrate or back it up whenever you want.
Cost Savings: No per-user pricing. Host unlimited users on your own server.
Technical Requirements
Before we start, make sure you have:
- A server or VPS with at least 2 GB RAM (4 GB recommended)
- Docker and Docker Compose installed (official installation guide)
- A domain name pointing to your server
- Basic knowledge of the command line
For this tutorial, we'll use a Hetzner Cloud server, but any VPS provider works.
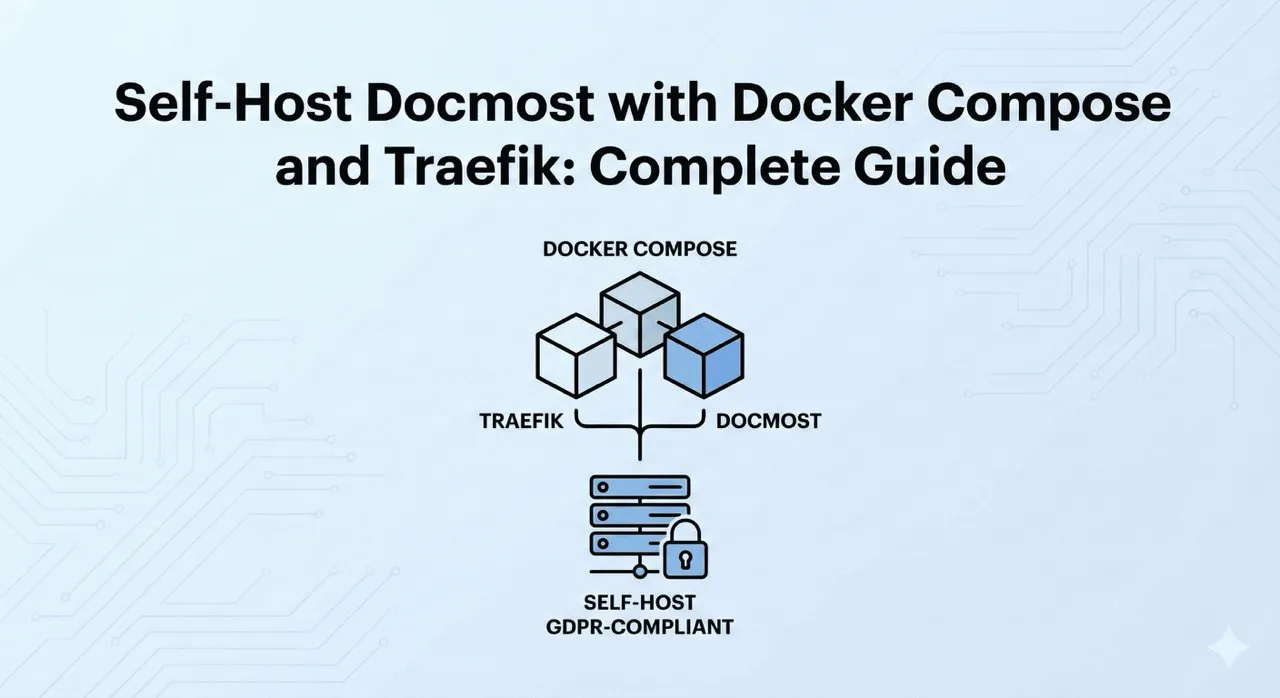
Understanding the Architecture
Our setup consists of four main components:
- Docmost: The main application
- PostgreSQL: Database for storing all documentation data
- Redis: Cache and session storage for better performance
- Traefik: Reverse proxy handling SSL certificates and routing
Here's how they work together:
Internet → Traefik (SSL) → Docmost → PostgreSQL/Redis
Traefik automatically obtains Let's Encrypt SSL certificates, so your documentation is always served over HTTPS.
Step 1: Prepare Your Server
First, connect to your server via SSH and create a directory for Docmost:
mkdir -p ~/docmost
cd ~/docmost
Step 2: Create the Docker Network
Traefik needs a shared network to communicate with Docmost:
docker network create web
Step 3: Set Up Traefik
Create a directory for Traefik and its configuration:
mkdir -p ~/traefik
cd ~/traefik
Create the Traefik configuration file traefik.yml:
entryPoints:
  web:
    address: ':80'
    http:
      redirections:
        entryPoint:
          to: websecure
          scheme: https
  websecure:
    address: ':443'

certificatesResolvers:
  letsencrypt:
    acme:
      email: your-email@example.com
      storage: /letsencrypt/acme.json
      httpChallenge:
        entryPoint: web

providers:
  docker:
    exposedByDefault: false
    network: web
Create the Traefik docker-compose.yml:
services:
  traefik:
    image: traefik:v3.6
    container_name: traefik
    restart: always
    ports:
      - '80:80'
      - '443:443'
    volumes:
      - ./traefik.yml:/etc/traefik/traefik.yml:ro
      - ./letsencrypt:/letsencrypt
      - /var/run/docker.sock:/var/run/docker.sock:ro
    networks:
      - web

networks:
  web:
    external: true
Create the Let's Encrypt storage file:
mkdir -p letsencrypt
touch letsencrypt/acme.json
chmod 600 letsencrypt/acme.json
Start Traefik:
docker compose up -d
Step 4: Set Up Docmost
Navigate back to the Docmost directory:
cd ~/docmost
Generate a secure secret key for your application:
openssl rand -hex 32
Create the docker-compose.yml for Docmost:
services:
  docmost:
    image: docmost/docmost:latest
    depends_on:
      - db
      - redis
    environment:
      APP_URL: 'https://docs.your-domain.de'
      APP_SECRET: 'REPLACE_WITH_LONG_SECRET'
      DATABASE_URL: 'postgresql://docmost:STRONG_DB_PASSWORD@db:5432/docmost?schema=public'
      REDIS_URL: 'redis://redis:6379'
    restart: unless-stopped
    volumes:
      - docmost:/app/data/storage
    networks:
      - web
      - internal
    labels:
      - 'traefik.enable=true'
      - 'traefik.http.routers.docmost.rule=Host(`docs.your-domain.de`)'
      - 'traefik.http.routers.docmost.entrypoints=websecure'
      - 'traefik.http.routers.docmost.tls.certresolver=letsencrypt'
      - 'traefik.http.services.docmost.loadbalancer.server.port=3000'

  db:
    image: postgres:16-alpine
    environment:
      POSTGRES_DB: docmost
      POSTGRES_USER: docmost
      POSTGRES_PASSWORD: STRONG_DB_PASSWORD
    restart: unless-stopped
    volumes:
      - db_data:/var/lib/postgresql/data
    networks:
      - internal

  redis:
    image: redis:7.2-alpine
    restart: unless-stopped
    volumes:
      - redis_data:/data
    networks:
      - internal

volumes:
  docmost:
  db_data:
  redis_data:

networks:
  web:
    external: true
  internal:
Replace REPLACE_WITH_LONG_SECRET with the secret key you generated using openssl rand -hex 32, and STRONG_DB_PASSWORD with a secure database password (you can generate one the same way).
Step 5: Configure DNS
Before starting Docmost, make sure your DNS is configured:
- Log into your domain registrar
- Create an A record pointing
docs.your-domain.deto your server's IP address - Wait for DNS propagation (usually a few minutes)
Step 6: Launch Docmost
Start all services:
docker compose up -d
Check if everything is running:
docker compose ps
You should see all three containers (docmost, db, redis) in a "running" state.
Step 7: Initial Setup
Open https://docs.your-domain.de in your browser. You'll be greeted by the Docmost setup wizard:
- Create your admin account
- Set up your first workspace
- Start documenting!
Maintenance
Updating Docmost
To update to the latest version:
cd ~/docmost
docker compose pull
docker compose up -d
Security Best Practices
- Use strong passwords: Generate random passwords for the database and APP_SECRET
- Enable firewall: Only expose ports 80 and 443
- Regular updates: Keep Docker images up to date
The Easier Way: Deploy with lowcloud
While this tutorial gives you full control, setting up Docmost manually requires:
- Server provisioning and SSH configuration
- Docker installation and management
- Traefik configuration for SSL
What if all of this could be automated?
With lowcloud, you can deploy Docmost – or any application with a Docker Compose file – with just a few clicks:
- Connect your Hetzner account – link your infrastructure with an API token
- Configure your compose service – paste your
docker-compose.yml - Hit deploy – lowcloud handles the rest
lowcloud automatically provisions your VM, sets up the reverse proxy with SSL, and keeps everything updated. Whether it's Docmost, n8n, or your own custom stack – if it runs with Docker Compose, lowcloud can deploy it. Your data stays on your own server in Germany, fully GDPR-compliant.
The result: All the benefits of self-hosting without the DevOps overhead.
Ready to simplify your deployment workflow? Get started with lowcloud and deploy Docmost in under 10 minutes.
For more information about Docmost, visit the official documentation. Questions about deployment? The lowcloud team is happy to help.
Kubernetes Migration: What You Need to Know Before You Start
A successful Kubernetes migration requires solid preparation. Learn the most common mistakes, a step-by-step approach, and when a PaaS is the better choice.
AI Agent Infrastructure: What You Really Need for Production
An AI agent is more than a single API call. This guide explains the four infrastructure layers — model hosting, orchestration, memory, and observability — and how they work together in production.